Brewing My First Beer: Belgian Wit
I’ve been wanting to try brewing my own beer for a while now and this past weekend finally did it.
I got pretty much everything I needed at Keystone Home Brew Supplies in Montgomeryville, PA. They’re actually in the process of moving to a new (much larger) location, so the place was kind of a mess, but the people there were really helpful. I’m sure once they get set up it’s gonna be awesome. I’ve never been inside their old location on 309, but from the outside it looked to be about the size of my apartment. If you know what you need I’m sure they can help. If you want to just go look around I’d give it a couple weeks until they get settled in.
I decided to go with a basic starter kit to make things easier. It comes with plastic buckets as opposed to the glass carboys that everyone I’ve talked to recommends, but I’m guessing as long as I do everything right you won’t be able to tell the difference. The kit also comes with an auto-siphon (for getting the beer from the fermenting bucket to the bottling bucket), a bottle capper, bottle caps, bottle brush, hydrometer (for measuring the “gravity” which allows you to figure out the alcohol content), airlock for the fermenting bucket and some sort of cleaning solution that I ended up not using because I bought some other stuff they had that doesn’t need to be rinsed (which makes the cleaning part easier). I also got a stainless steel brew kettle and ingredients for a Belgian Wit (White) ale. Hoegaarten and Blue Moon are probably the most popular examples of this style (in the US at least).
Ingredients

- 6.6 lbs (2 cans) Munton’s Wheat Malt Extract
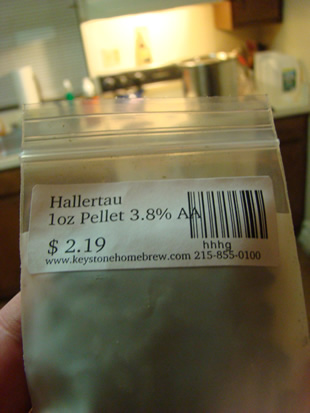
- 1 oz Hallertau hops (pellets)
- 3/4 oz crushed coriander
- 1/2 oz bitter curacao (orange peel)
- Wyeast Belgian Witbier yeast
- 5 oz priming sugar (for bottling)
Prep
The first step was actually to get the package of yeast out of the fridge and “slap” it to break the capsule inside and activate the yeast (whatever that means). I took it out and slapped it, a couple times actually, and the capsule still seemed to be intact, so I put it down flat on the counter and smashed it until the capsule was completely annihilated. The yeast takes a couple hours to do whatever it needs to do (which I’ll know is working because the airtight package will swell up) so I left it on the counter and made breakfast (at 4pm).
Another important step is to sanitize all the equipment, pretty much anything that’s going to come in contact with the brew after it’s done boiling. So the fermenting bucket, lid, thermometer, yeast package, etc. This is done with 1 oz of iodophor (the “other stuff” I bought) mixed with 5 gallons of water, which ends up looking suspiciously unsanitary.

The Brew
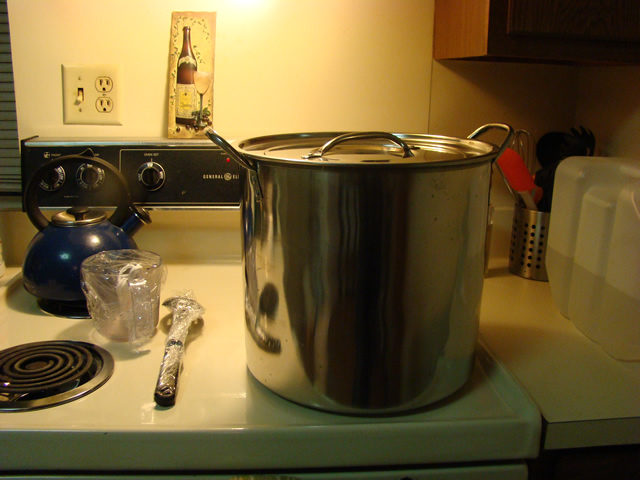
To get things started, I put the brew kettle on the stove and added about 1.5 gallons of water. I use a filter pitcher for all my drinking water so I’m not exactly sure how the water around here is. Rather than try to filter all the water I was gonna need (5 gallons) with a single pitcher, I bought bottled water. And no, not actually in bottles. I got 2 of those big 2.5 gallon things with the little plastic faucet that you take when you go to Burning Man or whatever.

At this point (the water is probably halfway to boiling) I realized that when I went to the store to get the water I was also supposed to get ice, which I forgot. I’ll need the ice later and the ice producing capabilities of my freezer are pretty lackluster. I can put out about 6-8 ice cubes an hour (OK, I’m bragging a little bit) but that certainly wasn’t gonna be enough to fill the sink an hour later for the ice bath (for the finished wort, not for me).
After getting the ice I needed and the water finally boiling, it was time to add the first can of malt extract. This thick, sweet-smelling syrup is the main ingredient in the beer (besides water). It’s made, I’m assuming, from wheat in a process that involves more equipment that I don’t have. And wheat, which I also don’t have. So it’s a good thing they make this stuff for you.

Taking the pot off the heat, I added the extract and stirred until it was completely dissolved and then brought it back up to a boil.

When the dissolved extract comes back to a boil it’s time to add the hops. 1 oz of Hallertau hops, actually, which I like saying because it sounds like I know what I’m talking about.


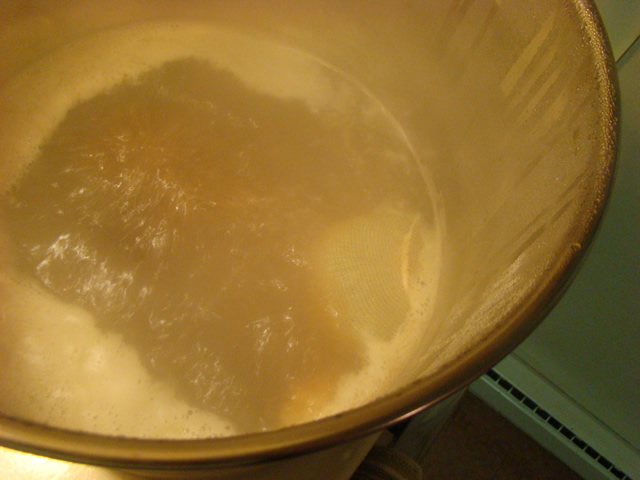
These particular hops come in pellet form and are added to the boil in a muslin bag. I’m assuming in beers that use more hops you might add them directly to the wort. I’m just following the instructions.


I start the timer for an hour. For the first 40 minutes, I’m just “stirring occasionally” (something I actually have experience with) and making sure the boiling doesn’t get out of control. At the 40 minute mark I take the pot off the heat again and add the other can of extract, again stirring until dissolved (as far as I could tell) and going back on the heat.
At the 50 minute mark I’m supposed to add the crushed coriander and bitter orange peel in separate muslin bags. The coriander comes un-crushed and I don’t have a coriander crusher. I do have a coffee grinder but I didn’t want to risk having all my coffee taste like whatever coriander tastes like so I decided to improvise. I put it in a bowl (in photo below) and used a small glass to crush the seeds. I know, groundbreaking. It’s like a mortar and pestle except its an Ikea bowl and an Ikea glass. Seemed to work OK. I guess we’ll find out.

The 50 minute mark came up faster than I was expecting so at around the 51 minute mark, I added the coriander and orange peel. If you end up trying this beer and want to be a real dick you can say you think another minute with the coriander would have made it better.


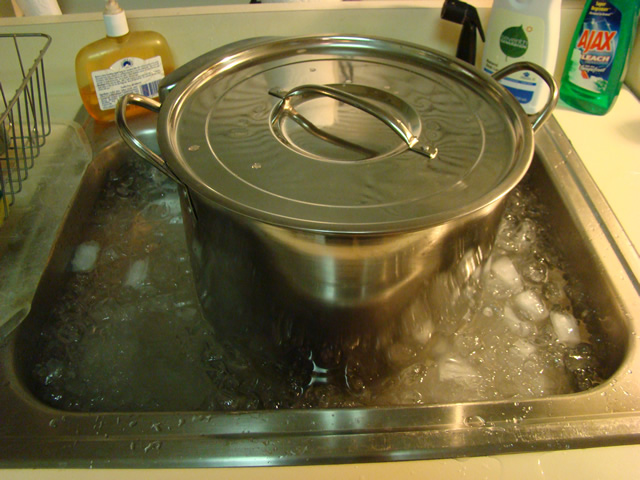
After the final ten minutes of the boil I took the pot off the heat and put it in the sink with a bag of ice and cold water.The temperature needs to be below 80° (and fast) before I can add the yeast, which is where the proverbial magic is supposed to happen. The yeast cells have their way with the sugar in the wort and we end up with alcohol. So it’s kind of like Jesus.

After about 15 minutes most of the ice was melted so I added another bag and waited another 15 minutes. At that point the wort (the stuff in the pot) was just below 80° so I dumped it into the fermenting bucket and then added the rest of the water to get it up to 5 gallons. The package of yeast looked like it was about to burst so I figured it was ready and added it to the bucket, attached the lid and airlock and moved it to the corner of the living room, where it will sit and ferment for the next 2 weeks or so.


Coming soon: bottling!